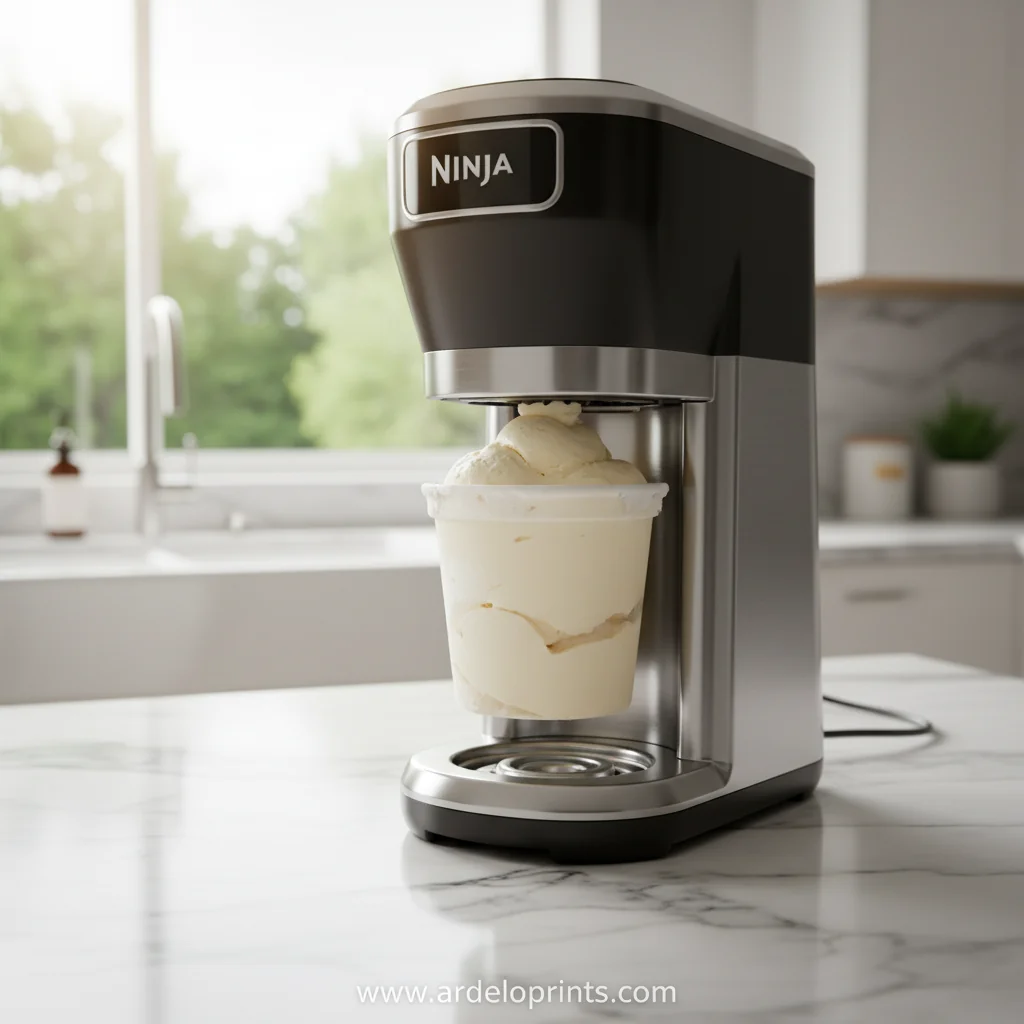
Vanilla ice cream has traveled from the royal courts of Europe to modest home kitchens, becoming a symbol of simple indulgence. Its origins trace back to early 17th‑century France where the first frozen desserts were made with crushed ice and flavored with vanilla beans. Over centuries, the technique evolved, and today the Ninja Creami brings that historic chill to the countertop, allowing anyone to recreate that smooth, cloud‑like treat without a freezer batch.
Why You'll Love It
-
- Incredibly smooth texture without air bubbles
-
- Minimal ingredients let the vanilla shine
-
- Quick turnaround – from mix to scoop in under an hour
-
- Warm kitchen aroma that feels like a hug
"The creaminess is unmatched; each spoonful feels like a soft summer memory."
Essential Ingredient Guide
- Whole milk: Choose a high‑fat milk; it creates richness and helps prevent icy crystals.
- Heavy cream: Adds silkiness; let it sit at room temperature for even mixing.
- Pure vanilla extract: A quality extract gives depth; avoid imitation for the best aroma.
- Granulated sugar: Dissolves fully, balancing the mellow vanilla without overt sweetness.
- Egg yolks (optional): When used, they act as a natural emulsifier, enhancing body.
- A pinch of salt: Heightens the vanilla flavor and rounds the sweetness.
 Desserts
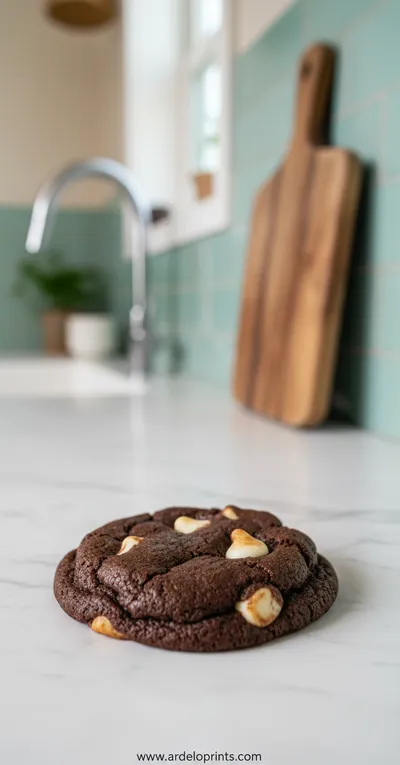
Inside Out Chocolate Chip Cookies
Chewy cookies with crisp edges and a melt‑in‑your‑mouth center.
Complete Cooking Process
-
Ingredient Readiness:
Measure and combine milk, cream, sugar, salt, and vanilla; whisk until sugar dissolves.
-
Flavor Development:
If using egg yolks, temper them into the warm mixture, then chill for 30 minutes.
-
Texture Control:
After chilling, pour into the Ninja Creami container, ensuring no air pockets.
-
Finishing Touches:
Run the Creami cycle; once smooth, fold in any optional mix‑ins gently.
-
Serving Timing:
Let the ice cream sit a few minutes to settle before scooping; serve immediately.
-
Freeze the container solidly for at least 24 hours for optimal churn.
-
Use a vanilla bean pod instead of extract for speckles and extra fragrance.
-
Avoid shaking the container once frozen; it introduces unwanted air.
-
Taste the base before freezing; adjust sweetness now rather than after.
Pro Tips
I’ve found that a patient pause before the final churn makes a world of difference. The mixture settles, and the Creami can work its magic without fighting back. So, let the base rest, then trust the machine. The result is a velvety scoop that melts just at the edge of the tongue, leaving behind that lingering vanilla kiss.
 Desserts
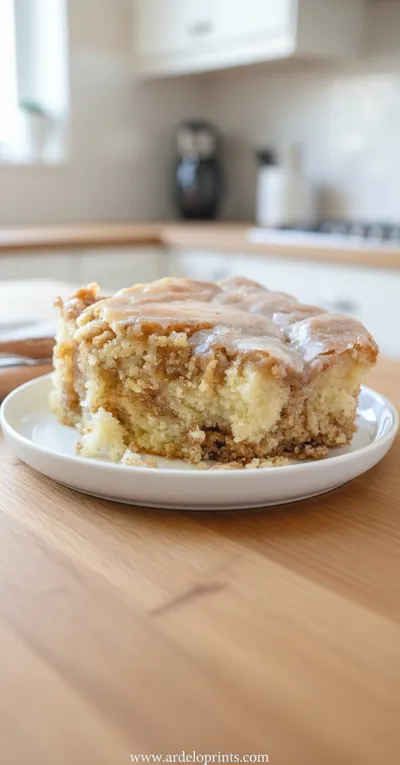
Cinnamon Roll Cake Recipe
Fluffy cinnamon roll cake with caramelized swirl, ideal for breakfast or snack.
The essence of the dish:
A pure vanilla base, elevated by the balance of dairy fat and a whisper of salt, creates a buttery mouthfeel that feels like a quiet sunset on the palate.
A fun fact or historical angle:
The first recorded vanilla ice cream dates back to 1692, when a French chef froze a custard flavored with vanilla beans for aristocratic guests.
Flavor or sensory focus:
You’ll notice the fragrant aroma first, then the silky texture that glides, ending with a subtle sweet‑salty finish that keeps you reaching for another spoon.
You Must Know
-
Use cold ingredients for a smoother churn
-
Don’t over‑mix; the Creami needs a gentle hand
-
Store leftovers in airtight containers to preserve creaminess
Frequently Asked Questions
→ Can I use a different sweetener?
Yes, honey or maple syrup work, but they add their own flavor; reduce by half to keep the vanilla front and center.
→ Do I need to chill the mix before pouring?
Chilling for at least 30 minutes helps the Creami achieve a smoother texture, though it will still work without it.
→ Is it okay to add mix‑ins like chocolate chips?
Absolutely; fold them in after the Creami cycle finishes to keep them from sinking.
→ How do I avoid icy crystals?
Use high‑fat dairy, ensure the base is fully chilled, and don’t over‑run the Creami.
→ Can I make this dairy‑free?
Swap whole milk and cream for coconut milk and coconut cream; the texture will be slightly lighter but still delicious.
→ What’s the ideal serving temperature?
Let the ice cream sit at room temperature for 5‑10 minutes; it softens just enough for a perfect scoop.
Nutrition Facts
per serving
310
Calories
5g
Protein
27g
Carbs
18g
Fat
Taste Profile
Richly vanilla with balanced sweetness
Ingredient Substitutions
Don't have an ingredient? Try these alternatives
May produce a lighter texture; choose a high‑fat almond variety.
Adds a subtle coconut note; adjust sweetness if needed.
Recipe Variations
Try these delicious twists on the original
Spicy Version
Add a pinch of ground cinnamon and a dash of cayenne for a warm, subtle heat.
Mediterranean Style
Stir in a spoonful of honey and a sprinkle of toasted pistachios after churning.
Common Mistakes to Avoid
Learn from others' mistakes for perfect results
- Skipping the chill step, resulting in a grainy texture.
- Overfilling the pint container, causing the lid not to seal properly.
- Adding mix‑ins before the final churn, which can break down delicate chips.
Meal Prep & Storage
Make Ahead Tips
You can mix the base and refrigerate it up to 24 hours ahead; just give it a good stir before freezing in the Creami.
Leftover Ideas
Reheat gently in a saucepan over low heat, stirring continuously, or let sit at room temperature for a soft scoop.
Perfect Pairings
Serve this with...
Cooking Timeline
Combine milk, cream, sugar, and salt; whisk until sugar dissolves.
Add vanilla extract, let the mixture cool on the counter.
Cover and refrigerate the base until chilled.
Pour into Ninja Creami container and run the Gelato cycle.
Add chocolate chips via Mix‑In function, then serve or refreeze.
 Desserts
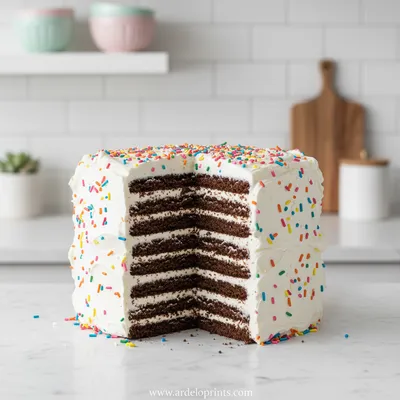
Easy Ice Cream Sandwich Cake
Cool, creamy ice cream sandwich cake that's simple, fun, and perfect for any sweet craving.

Best Ninja Creami Vanilla Ice Cream Recipe
Create ultra‑creamy vanilla ice cream at home with the Ninja Creami. Honestly, the process feels like a gentle winter night, smooth and inviting. no‑cook vanilla is a phrase some search for, and this recipe delivers that promise with simple steps and a velvety texture that sings of fresh vanilla beans.
Timing
Prep Time
15 Minutes
Cook Time
0 Minutes
Total Time
40 Minutes
Recipe Details
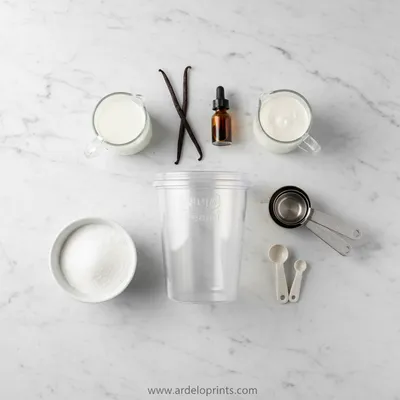
Ingredients
Base Mix
-
01
2 cups whole milk
-
02
1 cup heavy cream
-
03
3/4 cup granulated sugar
-
04
2 tsp pure vanilla extract
-
05
1 pinch sea salt
Optional Add‑ins
-
01
1/2 cup chocolate chips
-
02
Fresh berries for garnish
Instructions
In a saucepan, combine milk, cream, sugar, and salt; whisk over low heat until the sugar fully dissolves, about 3‑4 minutes.
Remove from heat, stir in vanilla extract, and let the mixture cool to room temperature; then cover and chill in the refrigerator for at least 30 minutes.
Once chilled, pour the base into the Ninja Creami pint container, level the top, and securely attach the lid.
Place the container in the Ninja Creami, select the "Gelato" setting, and run the cycle; the machine will churn the mixture into a silky ice cream.
If desired, create a small well in the ice cream, add chocolate chips, and restart the "Mix‑In" function for 30 seconds; serve immediately or refreeze for firmer texture.
Notes & Tips
-
1
For a deeper vanilla flavor, split a vanilla bean and scrape the seeds into the base before heating.
-
2
If the ice cream is too soft after the first churn, run a second "Ice Cream" cycle to firm up.
-
3
A splash of bourbon can be added for adults, but remember to keep it subtle.
 Dinner
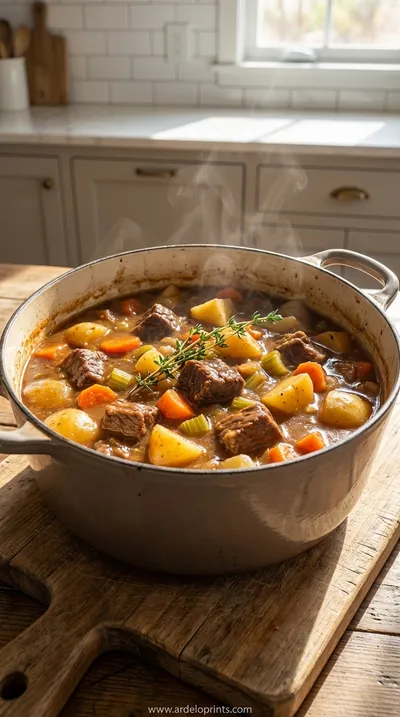
One-Pot Autumn Beef Stew: Cozy Fall Dinner Recipe
Hearty beef stew with fall vegetables creates comforting nourishment.
Tools You'll Need
-
Ninja Creami machine
-
Saucepan
-
Whisk
-
Measuring cups and spoons
-
Spatula
Must-Know Tips
-
Don’t overcrowd the pint; it needs space to churn evenly.
-
Let the base rest at room temperature before freezing; it improves texture.
-
Taste the mixture before freezing; adjust sweetness or vanilla as needed.
Professional Secrets
-
Room temperature dairy ensures even freezing and prevents ice crystals.
-
A quick burst of high heat when dissolving sugar creates a smooth base.
-
Using a narrow, tall container helps the Creami’s blade reach every corner.

Recipe by
Mason Cole“Sweet cravings are my specialty! I turn sugar, chocolate, and imagination into pure dessert magic.” 🍰✨
Get Delicious Recipes Weekly
Join 25,000+ home cooks getting our best recipes straight to their inbox.
Free forever • No spam • Unsubscribe anytime