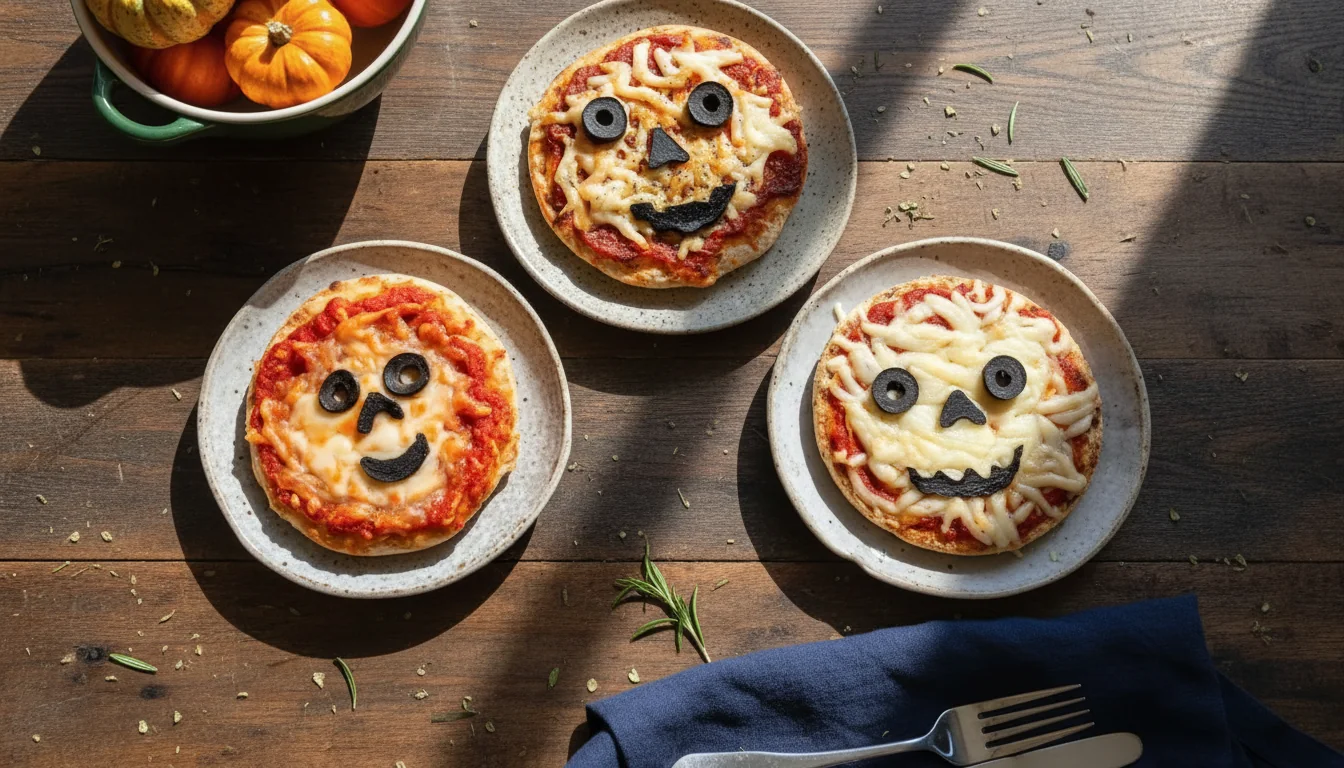
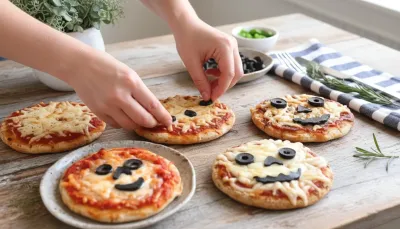
I remember one year, my little ones were so excited for our Halloween gathering. We had costumes ready, decorations up, but I realized I needed a quick, fun snack that wasn't just candy. That's when these mini pizzas came to life! We sat at the kitchen island, turning ordinary ingredients into little ghosts and mummies. It was less about perfection and more about the giggles and shared moments. The kitchen smelled wonderful, full of bubbling tomato sauce and melted cheese. Honestly, those are the memories I cherish most – the simple, creative ones shared over something delicious. These pizzas have been a tradition ever since, a little edible canvas for spooky fun.
Why You'll Love These Halloween Mini Pizzas
-
Super fun and festive for Halloween parties or themed snack boards.
-
Easy for kids to help assemble and decorate, making it a great family activity.
-
Completely customizable with your favorite spooky toppings.
-
A healthier, savory alternative to all the Halloween candy.
-
Quick to make, perfect for busy weeknights or last-minute gatherings.
-
Such a charming and delicious addition to any spooky celebration!
Okay, these are genius! We made them for our class party, and the kids absolutely loved decorating them. So much healthier than candy, and they looked incredible on the snack table. Definitely doing this again next year!
Essential Ingredient Guide
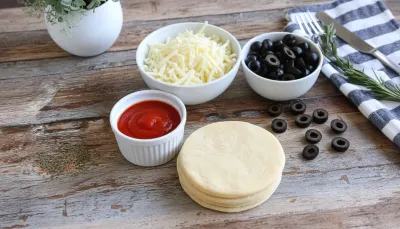
- Mini Crusts: English muffins are wonderful because they crisp up beautifully and are just the right size. Mini pita breads or store-bought mini pizza crusts also work perfectly. Choose something sturdy enough to hold all your creative toppings!
- Pizza Sauce: Any good quality pizza sauce or marinara will do the trick. I usually pick one with a little garlic and basil already in it for an extra layer of flavor.
- Mozzarella Cheese: Shredded mozzarella is ideal for melting. You'll need extra for those fun mummy bandages and ghost shapes, so grab a generous amount!
- Black Olives: These are essential for spooky eyes, spider bodies, and eerie shadows. They add a lovely salty counterpoint to the cheese and sauce.
- Bell Peppers: Orange bell peppers are great for pumpkin shapes, and green for Frankenstein faces or witch hats. Their crispness adds a nice texture contrast.
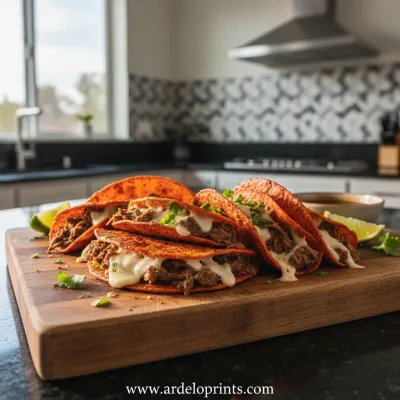
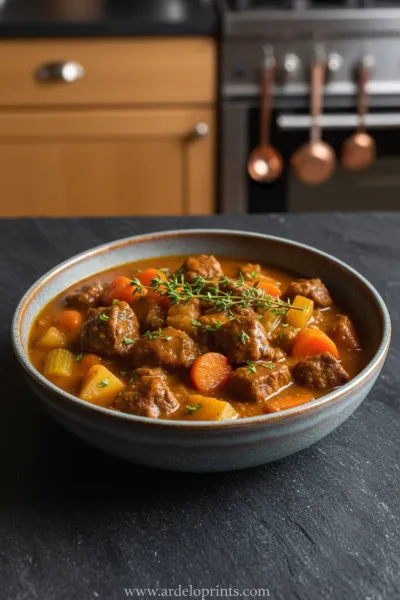
Birria Tacos: Easy & Flavorful Recipe
Tender, slow-braised beef tacos pan-fried to perfection with a rich, savory consomé for dipping.
Complete Cooking Process
-
Prepping Your Canvas:
-
First, get your oven preheated and your baking sheet ready, maybe lined with parchment for easy cleanup.
-
Arrange your chosen mini crusts—English muffins, pitas, whatever you fancy—on the sheet.
-
Have your favorite pizza sauce and a bowl of shredded mozzarella cheese within easy reach.
-
-
Crafting the Spooky Designs:
-
Spread a thin layer of sauce and then a nice sprinkle of cheese on each mini base.
-
Now for the creative part! Gather your spooky toppings: sliced black olives, colorful bell pepper strips, and maybe some beef pepperoni.
-
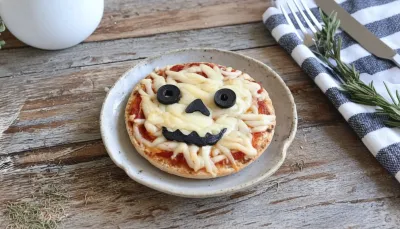
Get to designing! Think mummies with crisscrossed cheese strips, creepy spiders with olive bodies, or funny jack-o'-lanterns. Honestly, don't worry about perfection; the charm is in the handmade, slightly whimsical feel!
-
-
Baking and Enjoying:
-
Pop your adorable creations into the hot oven until the cheese is beautifully melted and bubbly, and the crusts are golden brown.
-
Carefully pull them out and let them cool for just a few minutes—that cheese will be molten!
-
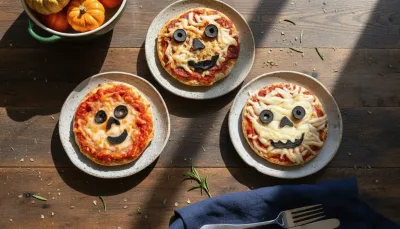
Then, serve them warm and watch everyone's faces light up with delight. Such a simple joy!
-
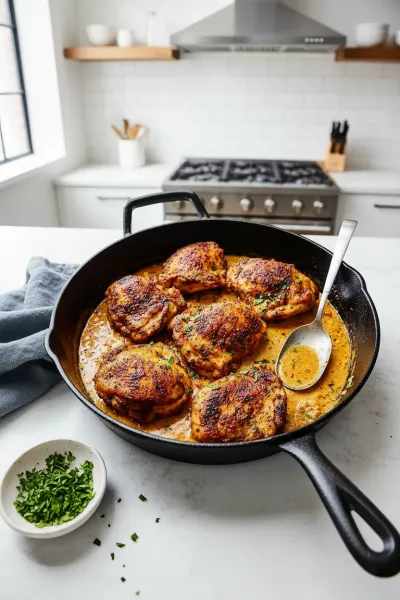
Easy Skillet Chicken Thighs Recipe
Garlic cream sauce skillet chicken thighs for a delicious and simple weeknight dinner.
Frequently Asked Questions
→ Can I make these ahead of time?
You can definitely prep the bases with sauce and cheese, and even cut your toppings, a few hours in advance. Just keep the toppings separate until you're ready to bake to prevent any sogginess. Bake them right before serving for the best melty, warm experience!
→ What other spooky toppings can I use?
Oh, so many options! Thinly sliced mushrooms can be spooky, or even little dollops of pesto for a 'slime' effect. Cooked and crumbled beef sausage can add a savory bite too. Get creative with whatever fun ingredients you have in your pantry!
→ Can I use different types of crusts?
Absolutely! Tortillas cut into rounds, bagels, or even puff pastry cut into shapes could totally work. Just remember to adjust your baking times accordingly. My personal favorite, though, are the English muffins because they get so wonderfully crisp.
→ How do I make the designs look really good?
Honestly, don't overthink it! The real charm of these is in their homemade, slightly imperfect look. For mummies, just lay strips of cheese crisscross. For spiders, an olive body with thin olive legs is perfectly spooky. Kids absolutely love helping with this part, and their unique touches are always the best!
Halloween Mini Pizzas: Spooky Snack Board Idea
Make adorable Halloween mini pizzas! A fun and healthy snack idea for spooky snack boards and Halloween parties. Ready in 27 minutes!
Timing
Prep Time
15 minutes
Cook Time
12 minutes
Total Time
27 minutes
Recipe Details
Ingredients
For the Mini Pizzas
-
01
6-8 mini pita breads, English muffins, or pre-made mini pizza crusts
-
02
1/2 cup pizza sauce (or marinara)
-
03
1 1/2 cups shredded mozzarella cheese
-
04
Olive oil (for brushing, optional)
For Spooky Toppings
-
01
Black olives (sliced for spider bodies/eyes)
-
02
Orange bell pepper (thin strips for pumpkins, triangles for Frankenstein hair)
-
03
Green bell pepper (thin strips for mummy bandages, Frankenstein stitches)
-
04
Beef pepperoni slices (cut into shapes or placed as is)
-
05
Fresh basil or oregano (for garnish, optional)
Instructions
Preheat your oven to 375°F (190°C). Lightly grease a baking sheet or line with parchment paper.
Arrange the mini pizza crusts on the baking sheet. If using English muffins, lightly toast them first for a crispier base.
Spread about 1 tablespoon of pizza sauce evenly over each crust, leaving a small border around the edges.
Sprinkle a generous amount of shredded mozzarella cheese over the sauce on each mini pizza.
Now for the fun part: decorate your pizzas with spooky designs! Get creative with your toppings:
For Mummies: Use thin strips of mozzarella cheese and cross them over the base to look like bandages. Add two small sliced black olives for eyes.
For Spiders: Place a whole black olive for the body, then cut another olive into thin strips for the legs, arranging them around the body.
For Jack-o'-lanterns: Use a round slice of beef pepperoni or a piece of orange bell pepper as the pumpkin base. Cut small triangles from black olive or green pepper for eyes and a mouth.
Bake for 10-12 minutes, or until the cheese is melted and bubbly and the crusts are golden brown.
Carefully remove from the oven. Let cool for a few minutes before serving. Enjoy your adorable, spooky creations!
Notes & Tips
-
1
Get the kids involved in decorating – it's truly half the fun and makes wonderful memories!
-
2
Cookie cutters are your best friend for making perfect cheese shapes.
-
3
A little sprinkle of garlic powder on the crust before adding sauce can add an extra layer of flavor.
-
4
Try different cheese blends, like a mix of mozzarella and a little cheddar, for fun color variations.
-
5
These also make fantastic after-school snacks during the spooky season!
Easy Slow Cooker Pot Roast
The ultimate set-it-and-forget-it meal. Tender beef and hearty vegetables simmered to perfection in the slow cooker.
Tools You'll Need
-
Baking sheet
-
Parchment paper (optional)
-
Small spreading knife or spoon
-
Cutting board
-
Sharp knife for slicing toppings (or small cookie cutters)
-
Oven mitts
Must-Know Tips
-
Lightly toast English muffins first for an extra crisp crust.
-
Don't overload the mini pizzas with too much sauce or cheese; it can make them soggy.
-
Keep your topping designs simple for maximum visual impact and ease of assembly.
-
Bake on parchment paper for super easy cleanup – always a win!
-
Let them cool for a few minutes before handling; the cheese will be very hot.
Professional Secrets
-
Use a very small cookie cutter, like a mini circle or star, to cut cheese or beef pepperoni into more intricate shapes for your designs.
-
A tiny bit of fresh herbs, like finely chopped oregano or basil, sprinkled on after baking adds a lovely pop of color and freshness.
-
For an extra golden crust, brush the edges of your chosen base with a little olive oil before adding the sauce.
-
If you're making mummy pizzas, you can add a tiny dollop of pizza sauce or sriracha in the 'eyes' after baking for a fun, bloodshot effect.
-
Consider making a 'graveyard' pizza on a larger crust, using mini pizza tombstone cutouts from cheese, for a real centerpiece.

Recipe by
Lily_HarperFrom crispy bites to soft nibbles, I’m all about snack-time happiness made simple and delicious.
Get Delicious Recipes Weekly
Join 25,000+ home cooks getting our best recipes straight to their inbox.
Free forever • No spam • Unsubscribe anytime