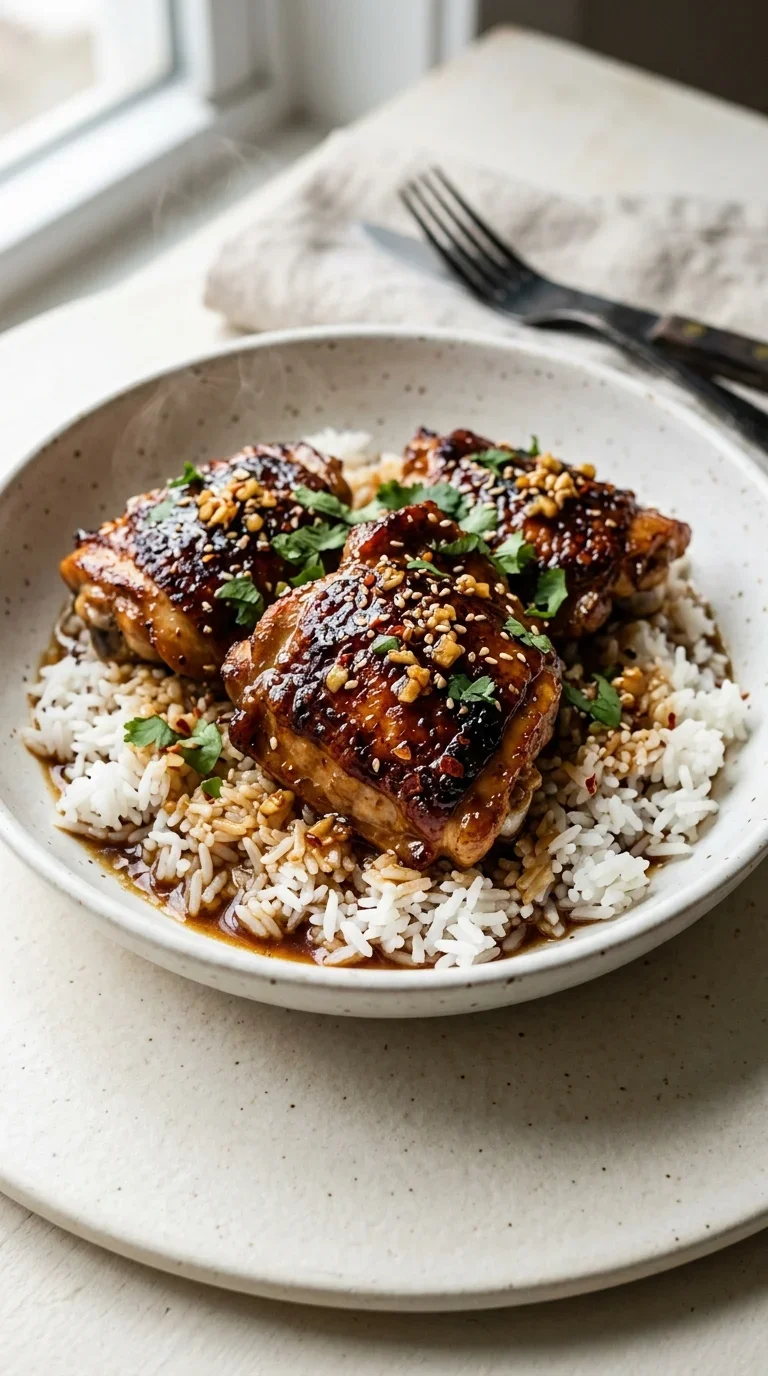
The marriage of honey and garlic in savory cooking is a timeless tradition, blending the ancient sweetness of bee-kept honey with the pungent, grounding heat of alliums. While this specific approach to sticky honey garlic chicken thighs draws heavily from the 'teriyaki' influence of East Asian cuisines—specifically the use of light soy sauce and rice vinegar—it represents a broader global love for the sweet-and-savory contrast.
Historically, honey was one of the earliest sweeteners used to glaze meats over open fires, creating a caramelized crust that locked in juices. In Asian culinary traditions, the addition of ginger and soy sauce transformed these simple glazes into complex umami experiences that balanced salt, acid, and sugar.
Today, this style of cooking has evolved into a beloved home-cooking staple because it mimics the depth of slow-braised dishes in a fraction of the time. By searing the meat first and then reducing the sauce, the cook achieves a professional-grade lacquer that is as visually appealing as it is flavorful.
Why You'll Love It
-
- Honestly, there is something so comforting about that glossy, sticky glaze clinging to the chicken. It just reminds me of those cozy family dinners where everyone wants a little extra sauce on their plate.
-
- Well, it only takes 30 minutes, which is just a miracle on a Tuesday night. I mean, you get that deep, slow-cooked flavor without actually spending all evening in the kitchen.
-
- Wow, the contrast between the crisp, golden skin and the tender meat inside is just lovely. It's that little bit of crunch that makes the whole dish feel special.
-
- So, it's a real crowd-pleaser because it balances the salty light soy sauce with the sweetness of the honey. Yeah, it's just simple, honest cooking that always hits the spot.
"I've tried a dozen versions of this, but the honey and garlic balance here is just right. My kids actually asked for seconds!"
Essential Ingredient Guide
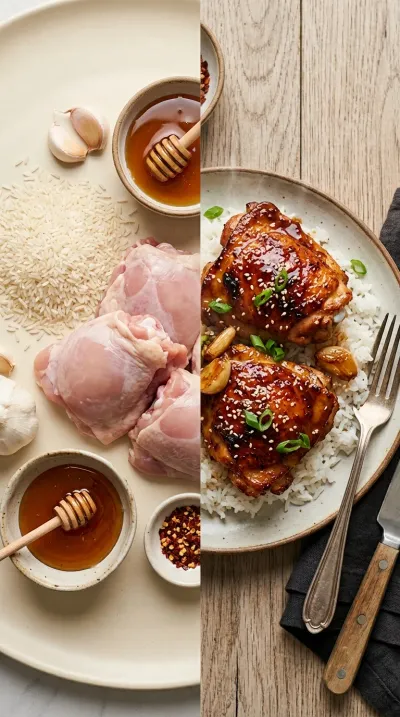
- 8 bone‑in, skin‑on chicken thighs: I always stick with bone-in thighs because they stay so much juicier. Just make sure to pat them dry with paper towels, or you won't get that beautiful sear.
- 4 cloves garlic, minced: Fresh is best here, honestly. I love the smell of garlic hitting the pan; it just fills the whole kitchen with such a warm, inviting aroma.
- 1’Tbsp toasted sesame seeds: These are just for a little bit of nutty crunch at the end. It's a small touch, but look, it makes the plate look like something from a proper restaurant.
- 1’tsp grated ginger: A little bit of ginger adds a subtle, spicy warmth that cuts through the sweetness. I find it just wakes up the whole dish, you know?
- 2’Tbsp rice vinegar: This provides a gentle tang that balances the honey. It's that secret little bit of acidity that keeps the glaze from feeling too heavy.
- 1’ℝ cup honey: The honey is what gives us that gorgeous, sticky texture. Just stir it well into the sauce so it caramelizes evenly without burning.
 International_Cuisine
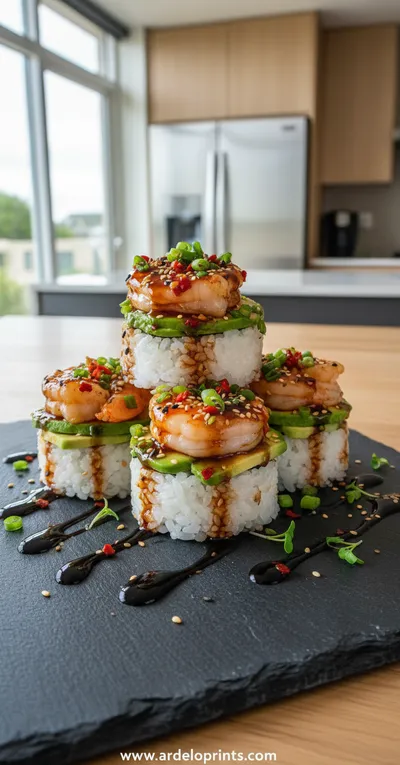
Spicy Shrimp Sushi Stacks
A fresh, vibrant bite combining seasoned shrimp, rice, and crisp toppings.
Complete Cooking Process
-
Getting Ready:
Start by prepping your 4 cloves garlic, minced and 1’tsp grated ginger. I like to have my honey, light soy sauce, and rice vinegar measured out so things don't get hectic once the pan is hot.
-
Building the Base:
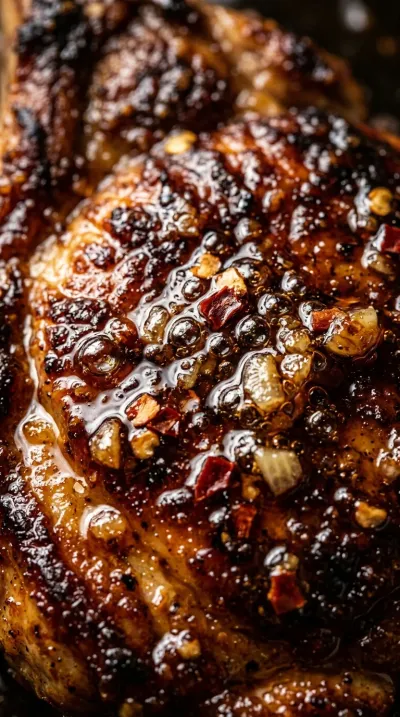
The real magic happens when those chicken thighs hit the sesame oil. Searing them skin-side down for a few minutes creates a deep, savory foundation for the sauce to cling to.
-
Perfecting the Glaze:
When you pour in the honey and soy mixture, the cornstarch slurry works its charm. It transforms the liquid into a glossy, thick glaze that hugs the chicken as it simmers.
-
The Final Polish:
Right at the end, I add a 1’tsp sesame oil drizzle. It adds a lovely sheen and a toasted scent that just makes the dish feel complete.
-
The Patient Wait:
Don't rush to plate it! Let the chicken rest for 5 minutes so the juices settle; it makes every bite so much more tender.
-
Pat the chicken dry before searing to ensure the skin gets perfectly caramelized.
-
Use a cast‑iron pan if you have one for a deeper, buttery browning.
-
Avoid crowding the pan so the chicken sears instead of steaming.
-
Stir the sauce during the last minute to keep it glossy and smooth.
Pro Tips
You've got this, just trust your instincts and the smell of the garlic!
Better For You Treats
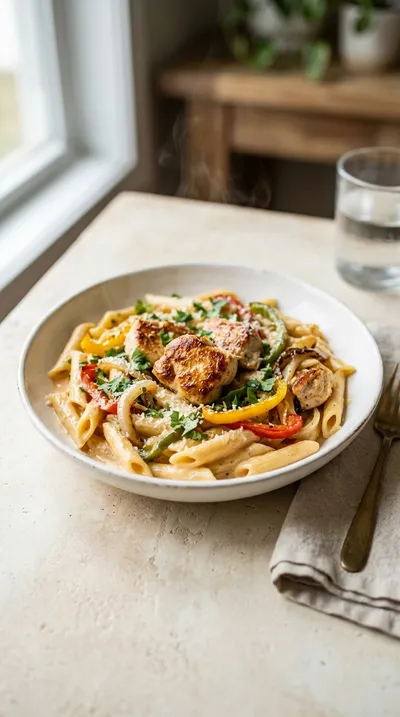
This dish is wonderful because it's so rich in protein. To keep things balanced, I love pairing it with some low-carb steamed veggies to offset the sweetness of the 1’ℝ cup honey.
Ways to Make it Your Own
If you're feeling adventurous, you could try the Thai Coconut version by swapping the soy sauce for coconut milk and red curry paste. Or, for something brighter, use fresh lemon juice and zest instead of the 2’Tbsp rice vinegar.
Serving Suggestions
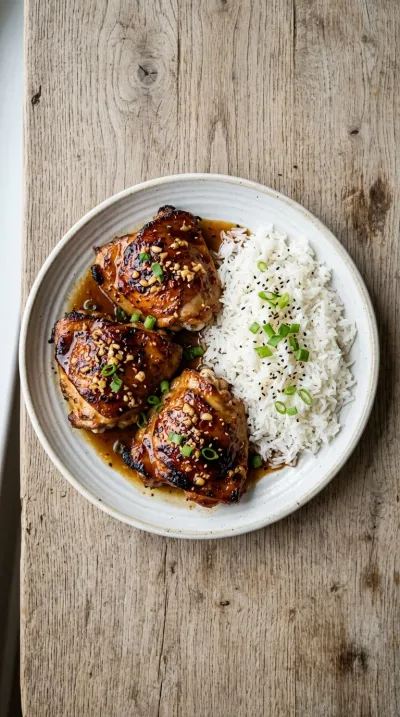
I usually serve these over a bed of fluffy jasmine rice to soak up all that extra glaze. For a little extra freshness, a few lime wedges and chopped cilantro on top really brighten the whole plate.
Frequently Asked Questions
→ Can I use boneless chicken thighs instead?
You sure can, though they cook a bit faster. Just keep a close eye on them so they don't dry out, since we miss out on that bone-in juiciness.
→ What if my sauce isn't thickening up?
Oops, that happens! Just let it simmer for another minute or two without the lid, and it should thicken right up into that beautiful glaze.
→ How do I know when the chicken is perfectly done?
I always use a meat thermometer to be safe. Once it hits 165’°F, you're good to go.
Nutrition Facts
per serving
420
Calories
31g
Protein
22g
Carbs
28g
Fat
Taste Profile
A rich, balanced blend of sweet honey and savory soy with a warm garlic finish.
Ingredient Substitutions
Don't have an ingredient? Try these alternatives
Provides a slightly different, woodsy sweetness.
A great option for those needing a gluten-free alternative.
A bit more punchy, but works well in a pinch.
Recipe Variations
Try these delicious twists on the original
Thai Coconut Honey Garlic Chicken
For a creamy, fragrant twist, just swap the soy sauce for coconut milk and stir in a teaspoon of red curry paste.
Lemon‑Honey Garlic Chicken
If you want something a bit brighter, exchange the rice vinegar for fresh lemon juice and a bit of lemon zest.
Common Mistakes to Avoid
Learn from others' mistakes for perfect results
- Crowding the pan, which leads to steaming instead of searing.
- Forgetting to pat the chicken dry, resulting in rubbery skin.
- Skipping the resting period, which lets the juices run out.
Meal Prep & Storage
Make Ahead Tips
You can prep the sauce in a jar up to a few days in advance. The chicken itself is best cooked fresh, but can be frozen for up to 3 months before cooking.
Leftover Ideas
Store leftovers in an airtight container in the fridge. Reheat gently in a skillet with a splash of water to loosen the glaze.
Perfect Pairings
Serve this with...
Cooking Timeline
Dry and season the chicken thighs.
Sear the chicken skin-side down until golden.
Flip the chicken and whisk the glaze ingredients together.
Simmer the chicken in the sauce until thickened and 165 °F.
Garnish, rest the meat, and serve.

Sticky Honey Garlic Chicken Thighs
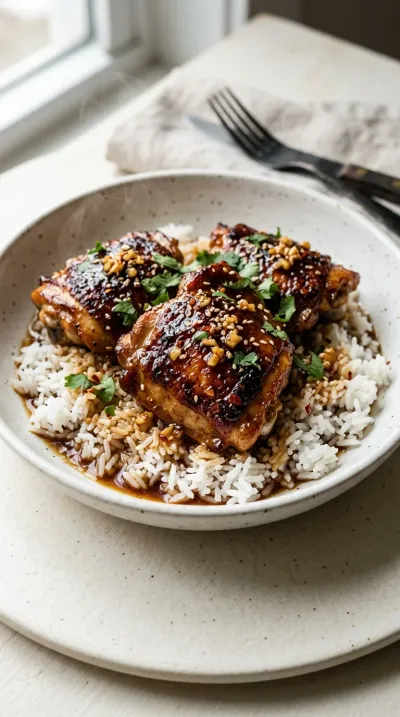
These sticky honey garlic chicken thighs are pan-seared to a golden crisp and glazed in a warm, glossy sauce. It's a comforting blend of sweetness and savory depth that makes the whole house smell like home.
Timing
Prep Time
10 Minutes
Cook Time
20 Minutes
Total Time
30 Minutes
Recipe Details
Ingredients
Main Ingredients
-
01
8 bone‑in, skin‑on chicken thighs
-
02
½ tsp salt
-
03
¼ tsp ground black pepper
-
04
1 Tbsp sesame oil, for pan
For the Honey Garlic Glaze
-
01
⅓ cup honey
-
02
¼ cup light soy sauce
-
03
2 Tbsp rice vinegar
-
04
4 cloves garlic, minced
-
05
1 tsp grated ginger
-
06
1 Tbsp cornstarch
-
07
2 Tbsp water
For Finishing
-
01
1 Tbsp sesame seeds (toasted)
-
02
1 Tbsp sliced green onions
-
03
1 tsp sesame oil, for finishing drizzle
Instructions
Start by taking some paper towels and gently patting those chicken thighs dry. Honestly, it's a small step, but it makes all the difference. Then, just give both sides a little sprinkle of ½ tsp salt and ¼ tsp ground black pepper.
Get your large skillet or cast‑iron pan heating up over medium‑high heat. Go ahead and add 1 Tbsp sesame oil, for pan, and let it get nice and warm.
Once you see the oil shimmering—that's how you know it's ready—place the chicken thighs skin‑side down. Let them sear for 5–6 minutes. You're looking for that skin to get really crisp and a beautiful golden brown.
Flip the thighs over and turn your heat down to medium. While those are cooking, grab a small bowl and whisk together ⅓ cup honey, ¼ cup light soy sauce, 2 Tbsp rice vinegar, 4 cloves garlic, minced, and 1 tsp grated ginger. Mix in a little slurry made of 1 Tbsp cornstarch and 2 Tbsp water to keep things smooth.
Pour that lovely sauce right over the chicken. Put a lid on the pan, but just leave it loose. Cook for about 6–8 minutes, basting the chicken every now and then. You'll know it's done when the sauce thickens up and a meat thermometer shows an internal temperature of 165 °F.
Take the pan off the heat. Now for the finishing touches: drizzle on 1 tsp sesame oil, for finishing drizzle, and sprinkle over 1 Tbsp sesame seeds (toasted) and 1 Tbsp sliced green onions.
Move the chicken to a plate and just let it rest for about 5 minutes. I mean, it's hard to wait, but it lets the juices redistribute so the meat stays tender.
Serve them hot! I love them over steamed white or brown rice, or you can toss them with some noodles and roasted vegetables if you're feeling fancy.
Notes & Tips
-
1
Make sure the chicken is very dry before seasoning to get the best sear.
-
2
Don't crowd the pan, or the chicken will steam instead of browning.
-
3
Basting the chicken occasionally ensures every inch is coated in the glaze.

Tools You'll Need
-
Large skillet or cast‑iron pan for a deep sear
-
Small bowl for mixing the sauce
-
Whisk to get the slurry smooth
-
Tongs for flipping the thighs
-
Meat thermometer to ensure the chicken hits 165 °F
-
Paper towels for drying the skin
-
Cutting board for prep
-
Spoon for basting
Must-Know Tips
-
Pat the chicken dry, this creates a perfectly caramelized skin.
-
Avoid crowding the pan, otherwise you'll lose that crispiness.
-
Use a cast-iron skillet, as it retains heat better than stainless steel for deeper browning.
Professional Secrets
-
The cornstarch slurry is the secret to that glossy, professional-looking glaze.
-
Stirring the sauce in the final minute prevents separation and maintains a high shine.
-
Resting the meat for 5 minutes is non-negotiable for juicy chicken.
What readers are saying
Community reviews from home cooks like you
Will definitely make this again. I really liked how the 8 bone‑in, skin‑on chicken thighs and ½ tsp salt came together. My kids even asked for seconds.
Nice base recipe. The thighs flavor was nice, but it took slightly longer than the recipe said. I might try it again with some adjustments.

Recipe by
Mia Daniels“Wellness starts on the plate! I create light, nourishing recipes that taste as good as they make you feel.” 🌱💚
Get Delicious Recipes Weekly
Join 25,000+ home cooks getting our best recipes straight to their inbox.
Free forever • No spam • Unsubscribe anytime