Coffee and chocolate have traveled together across continents for centuries, each borrowing depth from the other. In the 17th century, European explorers brought cocoa beans to the Ottoman courts, where coffee was already a daily companion. The marriage of bitter espresso and sweet cacao sparked a love affair that endures in modern desserts. This ice cream honors that history while adding a contemporary twist—protein to keep you satisfied. The technique of freezing a custard base in a modern machine like the Ninja Creami reflects the evolution from hand‑stirred sorbets of old to today's precise, low‑fat options.
Why You'll Love It
-
- High protein keeps you full longer
-
- Coffee and chocolate flavors blend seamlessly
-
- No added sugars, only natural sweetness
-
- Made with a Ninja Creami for ultra‑smooth finish
"The texture is like a cloud, and the coffee punch is perfect. No guilt, just pure joy!"
Essential Ingredient Guide
- Whey protein powder: Choose an unflavored or vanilla whey; it mixes easily and adds a clean protein boost.
- Espresso: Use freshly brewed strong espresso; it provides depth without watery dilution.
- Cocoa powder: Opt for Dutch‑processed cocoa for a richer, smoother chocolate note.
- Greek yogurt: Adds creaminess and tang; pick full‑fat for extra silkiness.
- Almond milk: A low‑calorie liquid that lets the flavors shine without dairy heaviness.
- Maple syrup: A natural sweetener that complements the coffee’s bitterness.
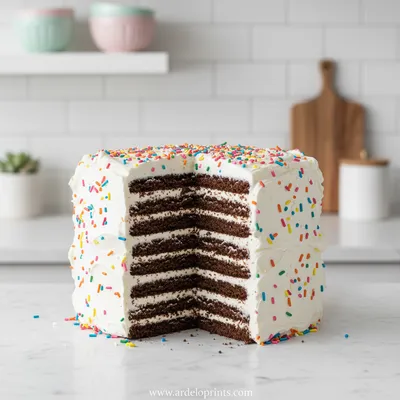
 Desserts
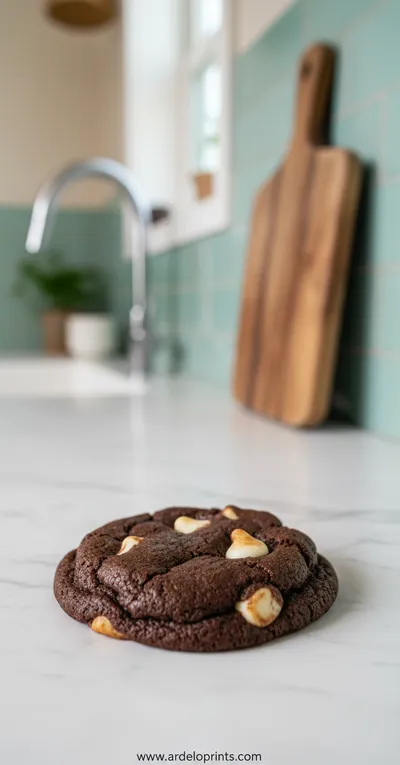
Inside Out Chocolate Chip Cookies
Chewy cookies with crisp edges and a melt‑in‑your‑mouth center.
Complete Cooking Process
-
Ingredient Readiness:
Measure and whisk all dry ingredients together, then combine with wet components before chilling.
-
Flavor Development:
Allow the espresso‑cocoa mixture to steep for a few minutes, letting the coffee bloom.
-
Texture Control:
Chill the base thoroughly before loading into the Ninja Creami to prevent icy crystals.
-
Finishing Touches:
After the first churn, fold in a drizzle of melted dark chocolate for ribboned swirls.
-
Serving Timing:
Let the ice cream sit for 5 minutes at room temperature for optimal scoopability.
-
Use a metal container that fits the Ninja Creami snugly for even freezing.
-
Freeze the base at least 24 hours for a firmer texture.
-
Add a pinch of sea salt to heighten the chocolate’s sweetness.
-
Serve in chilled bowls to keep the scoop smooth longer.
Pro Tips
Well, these little adjustments make a big difference. I remember the first time I tried the pro tip about the sea salt—wow, the flavor opened up in a way that felt like a gentle surprise. So, keep those tips handy, and enjoy each spoonful as a calm celebration of coffee and chocolate together.
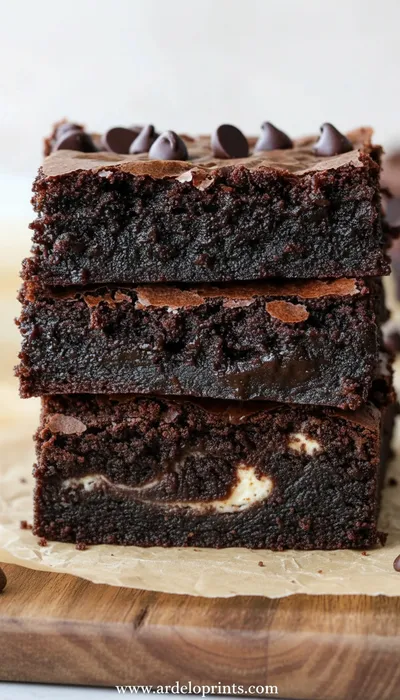
 Desserts
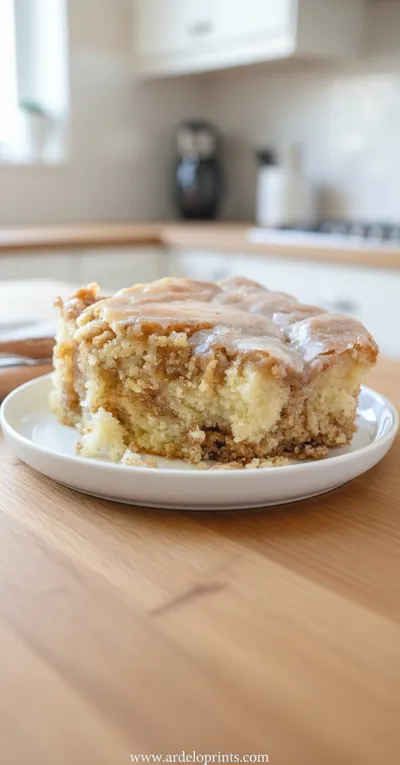
Cinnamon Roll Cake Recipe
Fluffy cinnamon roll cake with caramelized swirl, ideal for breakfast or snack.
The essence of the dish:
A balance of espresso’s bright acidity, cocoa’s deep richness, and whey’s clean protein creates a dessert that feels both indulgent and nourishing.
A fun fact or historical angle:
In 1906, the first frozen coffee dessert was patented in the United States, paving the way for today’s coffee‑infused ice creams.
Flavor or sensory focus:
Expect the first bite to release a cool, creamy mouthfeel, followed by a gentle coffee bitterness softened by sweet chocolate undertones.
You Must Know
-
Freeze the base fully before churning.
-
Use a high‑quality espresso for depth.
-
Do not over‑mix after the second churn.
Frequently Asked Questions
→ Can I use plant‑based protein?
Absolutely—pea or soy protein work well, just ensure they are unflavored to keep the coffee taste front and center.
→ Do I need an espresso machine?
A strong brewed coffee will do; just make sure it’s concentrated enough to stand up to the chocolate.
→ How long can I store the ice cream?
Keep it in an airtight container in the freezer for up to two weeks; let it sit briefly before serving.
→ Can I add chocolate chunks?
Yes, fold in dark chocolate pieces after the first churn for extra texture.
→ What if I don’t have a Ninja Creami?
You can use a traditional ice cream maker; just freeze the base longer before churning.
→ Is this recipe gluten‑free?
All ingredients are naturally gluten‑free, just double‑check any flavored protein powders for additives.
Nutrition Facts
per serving
210
Calories
18g
Protein
16g
Carbs
9g
Fat
Taste Profile
Rich coffee‑chocolate with a gentle sweetness
Ingredient Substitutions
Don't have an ingredient? Try these alternatives
Provides dairy‑free creaminess; choose a plain variety.
Ensures the recipe stays plant‑based; may add a slight green hue.
Recipe Variations
Try these delicious twists on the original
Spicy Version
Add 1/4 tsp cayenne pepper and a drizzle of chocolate chili sauce for a warm kick.
Mediterranean Style
Mix in crumbled white chocolate and a hint of orange zest for a bright twist.
Common Mistakes to Avoid
Learn from others' mistakes for perfect results
- Using warm espresso, which melts the base too quickly.
- Over‑mixing protein powder, leading to a grainy texture.
- Skipping the chill step, resulting in ice crystals.
Meal Prep & Storage
Make Ahead Tips
You can prepare the base and freeze it up to 3 days in advance; the ice cream will stay fresh and ready to churn.
Leftover Ideas
Transfer leftovers to a shallow container and let soften slightly before scooping; re‑freeze if needed.
Perfect Pairings
Serve this with...
Cooking Timeline
Gather and measure all ingredients; whisk dry components.
Combine wet ingredients, whisk until smooth, then chill.
Prepare the Ninja Creami container and place in freezer.
Run the Creami "Ice Cream" cycle, then add chocolate swirl.
Serve immediately or refreeze briefly for firmer texture.
 Desserts
Easy Ice Cream Sandwich Cake
Cool, creamy ice cream sandwich cake that's simple, fun, and perfect for any sweet craving.
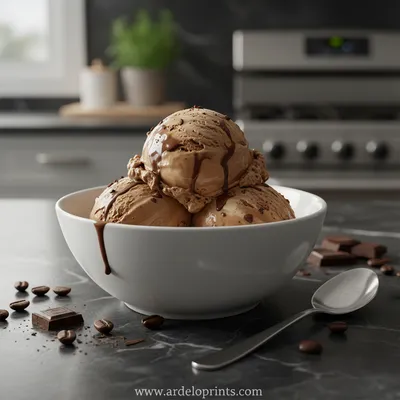
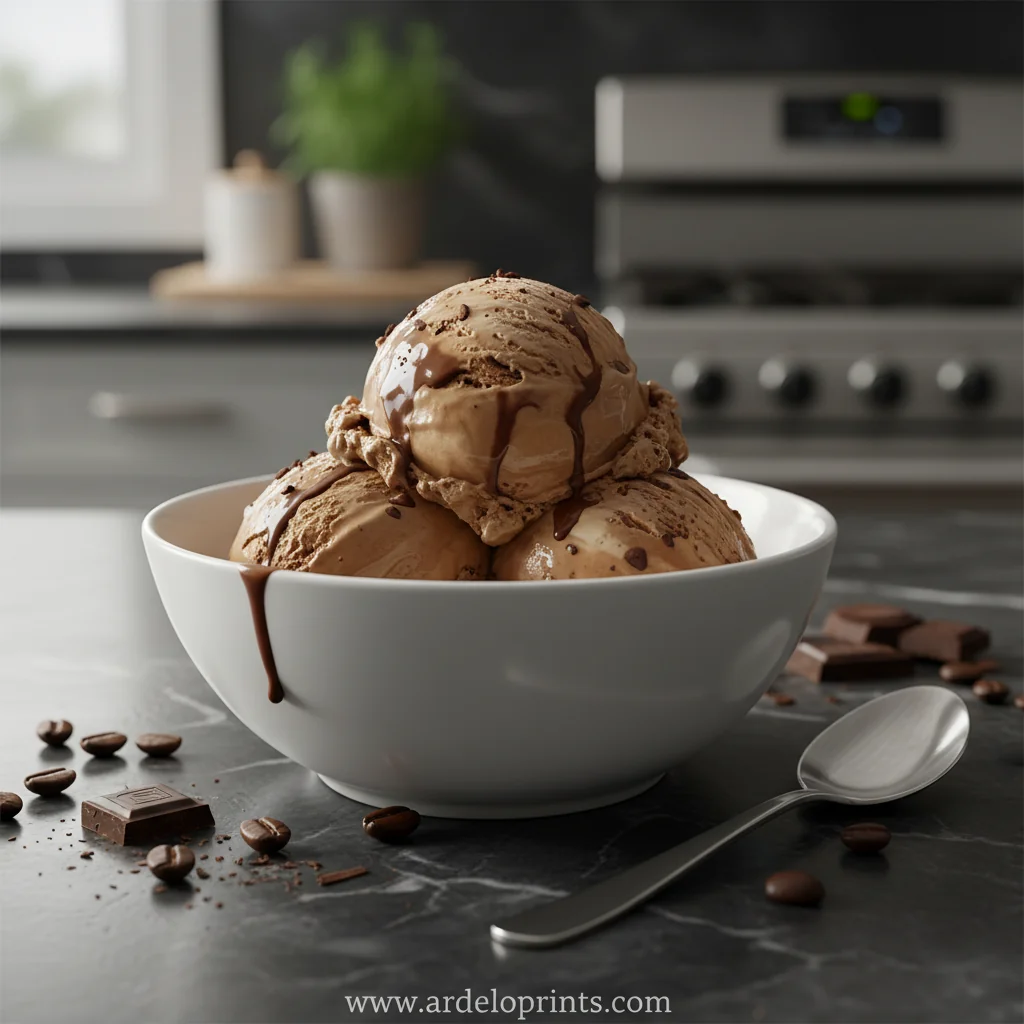
Mocha Espresso Protein Ice Cream
A silky, protein‑packed mocha espresso ice cream that feels like a coffee shop treat while keeping the nutrition in check.
Timing
Prep Time
20 Minutes
Cook Time
10 Minutes
Total Time
30 Minutes + 24 Hours Freeze
Recipe Details
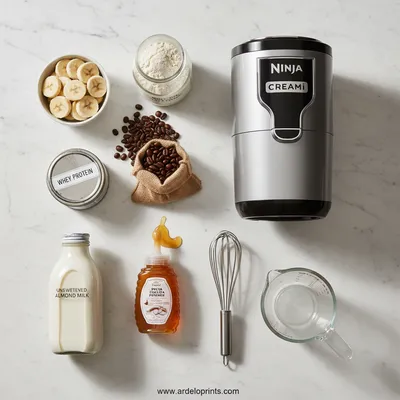
Ingredients
Main Ingredients
-
01
2 cups Greek yogurt (full‑fat)
-
02
1 cup almond milk
-
03
1/2 cup whey protein powder (vanilla or unflavored)
-
04
1/4 cup cocoa powder (Dutch‑processed)
-
05
1/3 cup strong espresso, cooled
-
06
3 tbsp maple syrup
-
07
1 tsp vanilla extract
-
08
Pinch of sea salt
Optional Swirl
-
01
2 tbsp dark chocolate, melted
Instructions
In a medium bowl, whisk together whey protein, cocoa powder, and sea salt until no lumps remain.
Add Greek yogurt, almond milk, espresso, maple syrup, and vanilla; whisk until smooth and glossy.
Cover the mixture and chill in the refrigerator for at least 2 hours, or overnight for best texture.
Pour the cold base into the Ninja Creami container, secure the lid, and freeze for 24 hours.
Insert the container into the Ninja Creami, select the "Ice Cream" function, and let it churn.
After the first churn, drizzle melted dark chocolate around the edges, then use the "Mix‑In" function to create ribbons.
Transfer the finished ice cream to a serving bowl; let it sit for 5 minutes before scooping.
Notes & Tips
-
1
If the ice cream is too soft after churning, refreeze for another 30 minutes.
-
2
Taste and adjust sweetness before the final churn; a little extra maple syrup can balance a bitter espresso.
-
3
For a dairy‑free version, substitute Greek yogurt with coconut yogurt.
Tools You'll Need
-
Ninja Creami machine
-
Medium mixing bowl
-
Whisk
-
Measuring cups and spoons
-
Spatula
-
Small saucepan for melting chocolate
Must-Know Tips
-
Do not over‑mix the base; gentle whisking keeps the texture light.
-
Chill the container fully; a partially frozen base can cause grainy ice cream.
-
Taste before freezing; adjust coffee strength if needed.
Professional Secrets
-
Use cold espresso to avoid warming the base.
-
Add a pinch of sea salt to enhance chocolate flavor.
-
Freeze the base at -20°C for a smoother churn.

Recipe by
Mason Cole“Sweet cravings are my specialty! I turn sugar, chocolate, and imagination into pure dessert magic.” 🍰✨
Get Delicious Recipes Weekly
Join 25,000+ home cooks getting our best recipes straight to their inbox.
Free forever • No spam • Unsubscribe anytime