The origins of the Oreo ice cream cake trace back to the 1960s, when frozen desserts gained popularity in American homes. Families sought quick, no‑bake treats that could be assembled with pantry staples, and the Oreo cookie quickly became a star. ghost truffles were a playful sibling, sharing the same crunchy‑creamy concept. Over decades, the cake evolved, but its core – simple, indulgent, and freezer‑friendly – remains unchanged.
Why You'll Love It
-
- No oven needed, perfect for hot days
-
- Kid‑approved flavors and textures
-
- Minimal cleanup, just a few bowls
-
- Can be made ahead and stored in the freezer
"The coolest, most effortless dessert I've ever made – kids love it!"
Essential Ingredient Guide
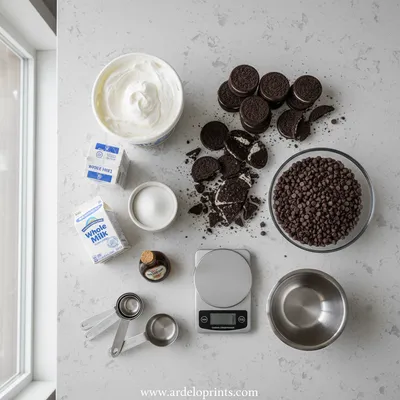
- Oreo cookies: Use full‑size chocolate‑cream Oreos; crush them fine for a uniform base and sprinkle some larger pieces for texture.
- Vanilla ice cream: Choose a high‑fat, creamy brand; let it soften slightly for easier spreading.
- Chocolate ganache: A mix of dark chocolate and heavy cream gives a glossy finish that hardens gently.
- Butter: Melted butter binds the cookie crumbs; use unsalted for better flavor control.
- Sugar (optional): A pinch can heighten the chocolate glaze if you like a sweeter crust.
- Whipped topping: Optional swirl on top adds airy lightness and visual contrast.
Complete Cooking Process
-
Ingredient Readiness:
Gather all cookies, let ice cream soften on the counter, melt butter, and prepare a shallow pan for the base.
-
Flavor Development:
Combine crushed Oreos with butter; press into the pan. The butter melts the crumbs just enough to bind.
-
Texture Control:
Spread softened ice cream over the crust, smoothing gently to avoid cracks.
-
Finishing Touches:
Pour chocolate ganache over the ice cream, letting it drizzle down the edges, then chill to set.
-
Serving Timing:
Allow the cake to sit at room temperature for five minutes before slicing for clean cuts.
-
Freeze the pan briefly before adding the crust for extra stability.
-
Use a piping bag for the ganache to create elegant drizzles.
-
Top with crushed Oreos right before serving for extra crunch.
-
Keep the cake covered while in the freezer to prevent ice crystals.
Pro Tips
Well, these little adjustments make a world of difference. I remember once forgetting to cover the cake, and waking up to a frosty surface – ugh, not ideal. A quick sheet of parchment does the trick. Also, when you pipe the ganache, you get that restaurant‑style look without the stress. It’s these tiny touches that turn a simple dessert into a memory.
 Snacks
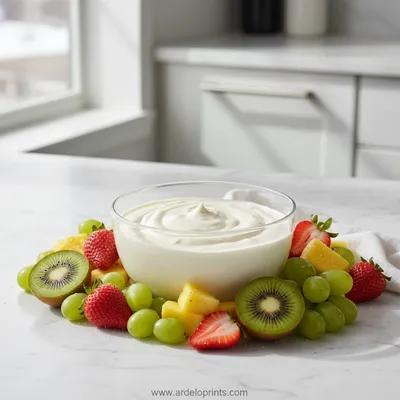
Easy Fruit Dip Recipe
Creamy, easy fruit dip for fresh fruit, perfect for any snack or dessert.
The essence of the dish:
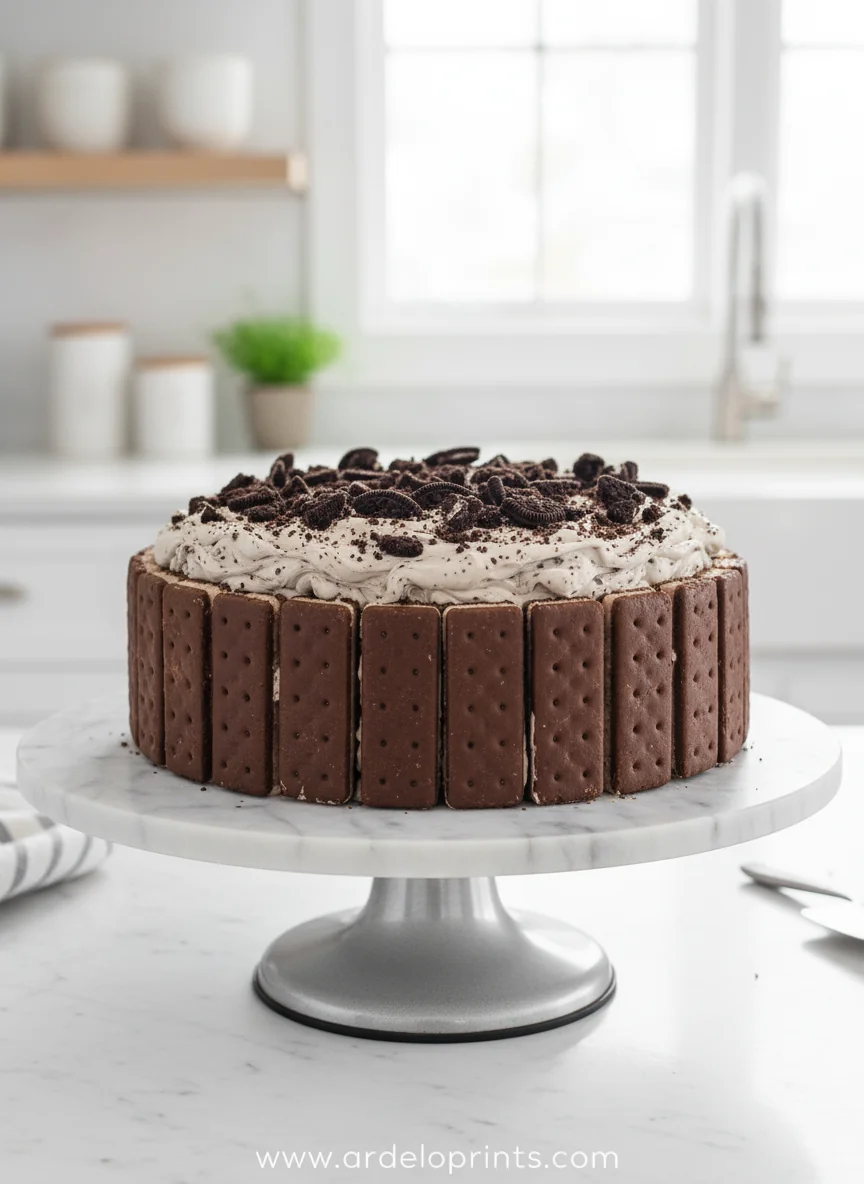
A buttery Oreo crust meets velvety vanilla ice cream, crowned with a glossy dark chocolate glaze that sets into a smooth, slightly firm top. The contrast of crunch and cream is what makes it unforgettable.
A fun fact or historical angle:
Did you know the first Oreo‑themed dessert appeared in a 1970s magazine as a simple shake? low calorie dessert ideas soon followed, proving the cookie’s versatility.
Flavor or sensory focus:
The first bite offers a cool, creamy melt that quickly meets the bittersweet snap of chocolate. Subtle vanilla notes linger, while the crust adds a nostalgic crunch.
You Must Know
-
Keep everything as cold as possible until the final chill.
-
Press the crust evenly; a flat base prevents wobbling.
-
Use high‑quality dark chocolate for the ganache.
Frequently Asked Questions
→ Can I use gluten‑free Oreos?
Yes, substitute with a gluten‑free chocolate sandwich cookie; the flavor stays the same.
→ How long can the cake stay in the freezer?
Up to two weeks if well‑wrapped; beyond that, texture may soften.
→ Can I add a layer of fruit?
Absolutely – thin slices of banana or strawberries work well between the crust and ice cream.
→ Do I need an ice cream maker?
No, simply use store‑bought soft‑serve or let a regular tub soften before spreading.
→ What chocolate should I use for the ganache?
A good quality dark or semi‑sweet chocolate (70% cocoa) provides a rich flavor and firm set.
→ Can I make it vegan?
Swap dairy ice cream for coconut or almond‑based ice cream and use a plant‑based butter alternative.
Nutrition Facts
per serving
420
Calories
6g
Protein
45g
Carbs
22g
Fat
Taste Profile
Richly sweet with a balanced chocolate‑cream contrast
Ingredient Substitutions
Don't have an ingredient? Try these alternatives
Adds a tropical note; ensure it’s firm enough to hold the shape.
Will be sweeter; you may reduce added sugar in the ganache.
Recipe Variations
Try these delicious twists on the original
Spicy Version
Add a pinch of cayenne pepper to the ganache for a subtle heat that surprises the palate.
Mediterranean Style
Incorporate toasted pistachios and a drizzle of honey over the ganache for a sweet‑nutty twist.
Common Mistakes to Avoid
Learn from others' mistakes for perfect results
- Overmixing the crust, which can make it soggy.
- Pouring hot ganache directly onto the ice cream, causing melting.
- Not letting the ganache set before slicing, leading to drips.
Meal Prep & Storage
Make Ahead Tips
You can prepare the crust and fill the pan, then cover and freeze the base alone for up to 24 hours before adding ice cream and ganache.
Leftover Ideas
Slice any leftovers, let them soften at room temperature for a few minutes, then enjoy as a quick snack.
Perfect Pairings
Serve this with...
Cooking Timeline
Crush cookies, melt butter, and press crust into pan.
Spread softened ice cream evenly over crust.
Prepare ganache by heating cream and melting chocolate.
Pour ganache over ice cream, garnish, and freeze.
Allow cake to set in freezer for at least 2 hours before serving.
 Desserts
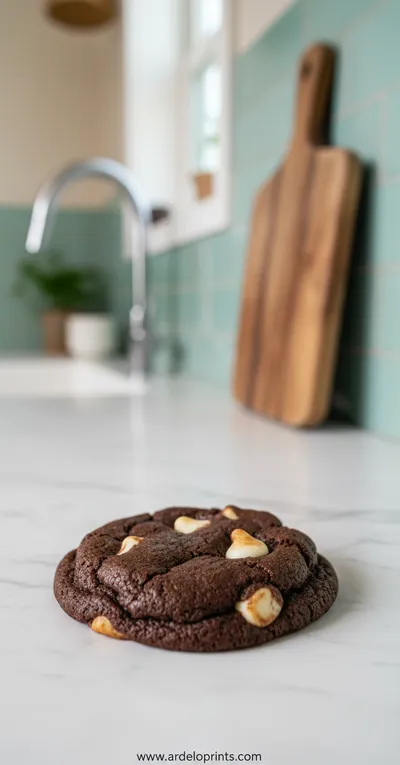
Inside Out Chocolate Chip Cookies
Chewy cookies with crisp edges and a melt‑in‑your‑mouth center.

No Bake Oreo Ice Cream Cake
A quick, kid‑friendly no‑bake Oreo ice cream cake that brings together creamy vanilla ice cream, crunchy Oreo crumbs, and a glossy chocolate glaze. It’s perfect for birthdays, holidays, or any moment you want to add a little indulgent joy. For a fun twist, you can even pair it with Oreo truffles for extra texture.
Timing
Prep Time
20 Minutes
Cook Time
0 Minutes
Total Time
20 Minutes
Recipe Details
Ingredients
Crust
-
01
2 cups (about 24) Oreo cookies, finely crushed
-
02
4 tbsp unsalted butter, melted
Filling
-
01
1 quart (4 cups) vanilla ice cream, softened
-
02
1/2 cup whipped topping (optional)
Ganache
-
01
8 oz dark chocolate, chopped
-
02
1/2 cup heavy cream
-
03
1 tsp vanilla extract
Garnish
-
01
Crushed Oreo crumbs
-
02
Chocolate shavings
Instructions
In a food processor or zip‑top bag, crush the Oreos until they are fine crumbs; set aside a handful of larger pieces for garnish.
Mix the crushed Oreos with melted butter until the mixture resembles wet sand, then press firmly into the bottom of a 9‑inch springform pan.
Spread the softened vanilla ice cream over the crust, smoothing with a spatula; if using whipped topping, swirl it on top gently.
In a saucepan, heat the heavy cream until just simmering, then pour over the chopped chocolate; let sit for a minute, stir until smooth, add vanilla, and let cool slightly.
Pour the ganache over the ice cream layer, allowing it to drip down the sides; sprinkle the reserved Oreo crumbs and chocolate shavings on top.
Freeze the assembled cake for at least 2 hours, or until the ganache is set. Before serving, run a warm knife around the edge and remove the springform.
Notes & Tips
-
1
If the crust feels dry, add a teaspoon more melted butter.
-
2
For extra shine, let the ganache sit at room temperature for a few minutes before pouring.
-
3
Feel free to drizzle caramel sauce for a sweeter variation.
 Desserts
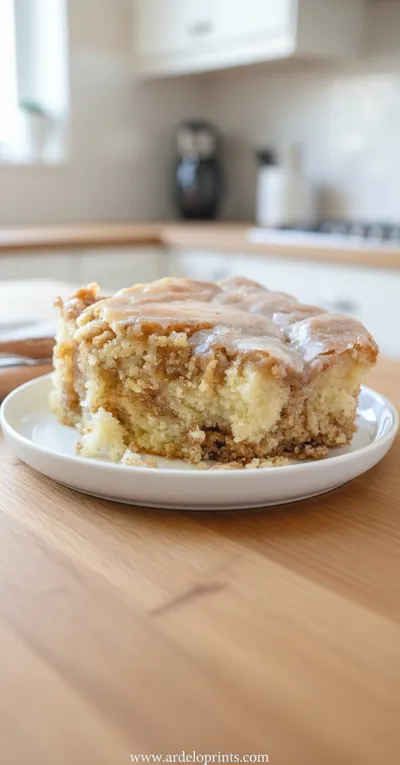
Cinnamon Roll Cake Recipe
Fluffy cinnamon roll cake with caramelized swirl, ideal for breakfast or snack.
Tools You'll Need
-
Food processor or zip‑top bag
-
9‑inch springform pan
-
Spatula
-
Saucepan
-
Whisk
-
Measuring cups
Must-Know Tips
-
Don't rush the butter‑crumb binding; press firmly for a stable base.
-
Let the ganache cool slightly before pouring to avoid melting the ice cream.
-
Taste the ganache before adding; adjust sweetness with a pinch of sugar if needed.
Professional Secrets
-
Use room‑temperature ice cream for easy spreading.
-
Warm the pan slightly before pressing the crust for an even layer.
-
A thin layer of cocoa powder over the ganache prevents freezer burn.

Recipe by
Mason Cole“Sweet cravings are my specialty! I turn sugar, chocolate, and imagination into pure dessert magic.” 🍰✨
Get Delicious Recipes Weekly
Join 25,000+ home cooks getting our best recipes straight to their inbox.
Free forever • No spam • Unsubscribe anytime