Peanut butter ice cream traces its roots to American home kitchens of the 1970s, when cooks began blending the beloved spread into frozen treats as a quick alternative to dairy‑heavy desserts. Over time, the technique evolved, and today machines like the Ninja Creami let us achieve a professional‑grade smoothness in a matter of minutes, preserving the classic flavor while adding a modern, silky texture.
Why You'll Love It
-
- No churn‑up, the Creami does the work
-
- Pure peanut flavor with just a hint of honey
-
- Ready in under an hour, perfect for spontaneous cravings
-
- Easily adaptable for dairy‑free or low‑sugar versions
"The peanut butter ice cream reminded me of summer evenings on the porch – simple, sweet, and utterly comforting."
Essential Ingredient Guide
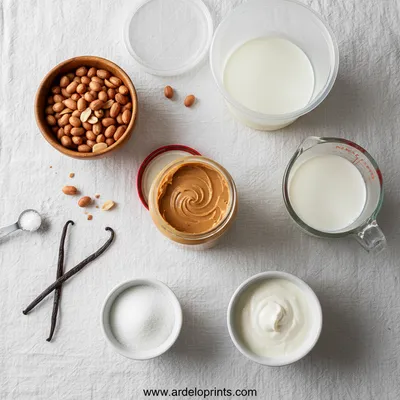
- Peanut butter: Choose a natural, unsweetened variety for depth; stir before measuring to bring the oils back together.
- Heavy cream: Full‑fat cream gives the ice cream its luscious body; keep it chilled until use.
- Honey: Adds a gentle sweetness that pairs with the roasted peanuts without overwhelming.
- Vanilla extract: A splash brightens the nutty notes and adds warmth.
- Sea salt: A pinch lifts the flavor, echoing the subtle saltiness of roasted peanuts.
- Milk (optional): Use a splash of whole milk if you prefer a slightly softer texture.
Complete Cooking Process
-
Ingredient Readiness:
Measure and whisk together peanut butter, cream, milk, honey, vanilla, and salt until the mixture is smooth and glossy.
-
Flavor Development:
Allow the blend to sit for five minutes; this lets the peanut oils meld with the dairy, enhancing depth.
-
Texture Control:
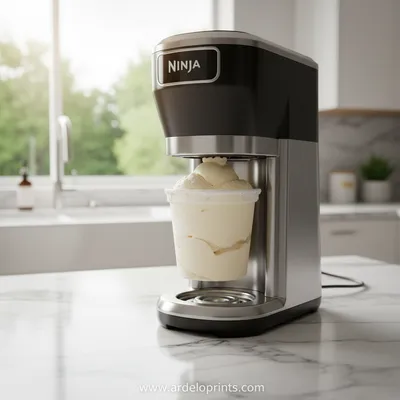
Pour the mixture into the Ninja Creami pint, secure the lid, and freeze for at least 24 hours for optimal churn.
-
Finishing Touches:
After the Creami cycles, fold in a handful of chopped roasted peanuts for a gentle crunch.
-
Serving Timing:
Serve immediately for a soft‑serve feel, or refreeze for a firmer scoop.
-
Taste the base before freezing; adjust honey or salt as needed.
-
Use a spatula to scrape the sides of the pint before churning for even texture.
-
If the ice cream feels too dense, add a splash of milk after the first churn.
-
Storing the pint uncovered for 10 minutes softens it for easier scooping.
Pro Tips
I find that a quiet moment while the Creami works allows the kitchen to fill with that comforting nut aroma, turning a simple dessert into a small ceremony. So, take a breath, enjoy the scent, and remember that the best treats often come from patient, gentle steps.
The essence of the dish:
A creamy, buttery base where the roasted peanut flavor is front and center, balanced by a whisper of honey and vanilla.
A fun fact or historical angle:
Peanut butter first appeared on the U.S. market in the early 1900s as a protein‑rich paste for athletes, later becoming a staple in American households.
Flavor or sensory focus:
Expect a silky mouthfeel that melts slowly, releasing a warm, earthy nuttiness followed by a subtle sweet finish.
You Must Know
-
The Creami needs a completely frozen pint for best results
-
Natural peanut butter may separate; stir well before adding
-
A pinch of salt can transform the flavor profile
Frequently Asked Questions
→ Can I use almond butter instead of peanut butter?
Absolutely, just swap the peanut butter for an equal amount of almond butter; the flavor will shift to a sweeter, milder nut profile.
→ Do I need an ice cream maker?
No, the Ninja Creami handles the churning; simply freeze the pint overnight and let the machine do the rest.
→ How long can the ice cream be stored?
Keep it sealed in the freezer for up to two weeks; stir gently before serving if it hardens.
→ Can I make this dairy‑free?
Swap heavy cream for coconut cream and use oat milk; the result is still luxuriously smooth.
→ Is the recipe suitable for vegans?
Yes, using plant‑based butter and coconut cream makes it fully vegan.
→ Why does my ice cream become grainy?
Graininess occurs if the base isn’t fully blended before freezing; whisk until completely smooth and chill thoroughly.
Nutrition Facts
per serving
380
Calories
9g
Protein
23g
Carbs
28g
Fat
Taste Profile
Warm, nutty sweetness with a buttery finish
Ingredient Substitutions
Don't have an ingredient? Try these alternatives
Provides a dairy‑free richness; may add a faint coconut note.
Gives a lighter flavor; use slightly less as it’s thinner.
Recipe Variations
Try these delicious twists on the original
Chocolate Swirl
Add 2 tbsp melted dark chocolate after the first churn and swirl gently for a ribboned effect.
Banana Boost
Blend in half a ripe banana with the base for added natural sweetness and creaminess.
Common Mistakes to Avoid
Learn from others' mistakes for perfect results
- Overfilling the pint, which can cause overflow during churn.
- Skipping the full 24‑hour freeze, leading to a grainy texture.
- Adding mix‑ins before the first churn, which can break down their crunch.
Meal Prep & Storage
Make Ahead Tips
You can whisk the base and freeze it up to 3 days in advance; the flavor actually deepens as it sits.
Leftover Ideas
Scoop frozen portions into a blender with a splash of milk for a quick milkshake.
Perfect Pairings
Serve this with...
Cooking Timeline
Gather and measure all ingredients; whisk the base until smooth.
Taste and adjust sweetness or salt; pour into the pint and seal.
Place pint in freezer for at least 24 hours.
Run the Ninja Creami on the Ice Cream setting; stir in peanuts if using.
Serve immediately or refreeze for firmer scoops.
 Dinner
Creamy Low Carb Chicken Casserole
Low‑carb, creamy chicken casserole that feels indulgent without the noodles.
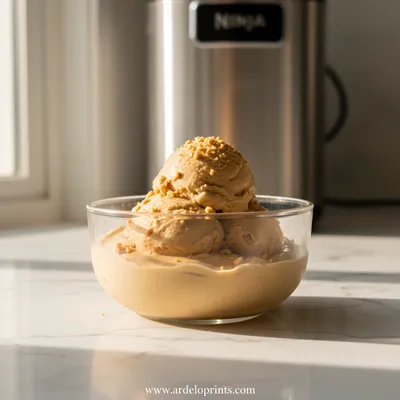
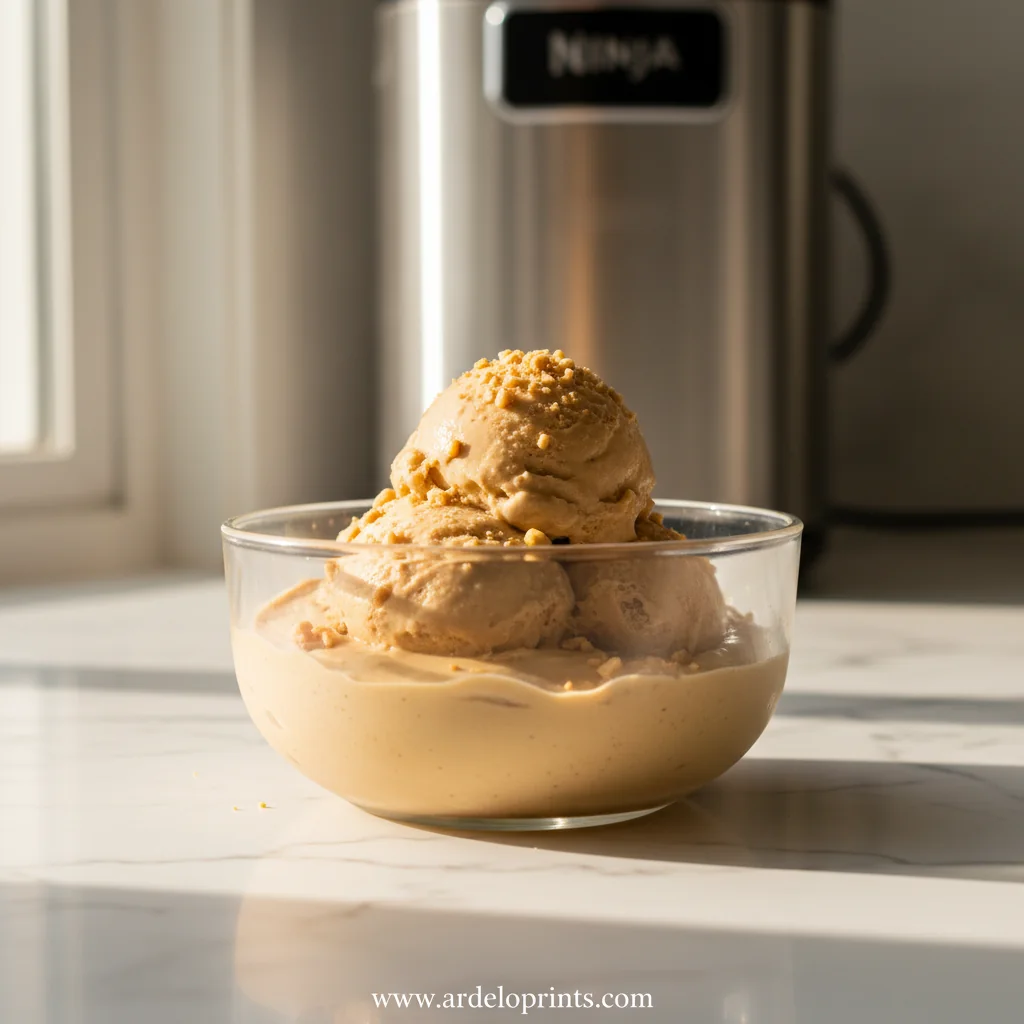
Peanut Butter Ice Cream in Ninja Creami
Silky, dreamy peanut butter ice cream made at home with the Ninja Creami. The scent of roasted peanuts fills the kitchen, the texture is smooth and buttery, and each spoonful carries a comforting richness that feels like a quiet afternoon with a good book. This recipe is simple, it lets the nutty flavor shine without any fuss—just a gentle mix of pantry staples, a little patience, and the magic of the Creami.
Timing
Prep Time
15 Minutes
Cook Time
0 Minutes
Total Time
24 Hours 15 Minutes
Recipe Details
Ingredients
Base
-
01
1 cup natural peanut butter
-
02
1 cup heavy cream
-
03
½ cup whole milk
-
04
¼ cup honey
-
05
1 tsp vanilla extract
-
06
½ tsp sea salt
Optional Mix‑In
-
01
2 tbsp chopped roasted peanuts
Instructions
In a medium bowl, whisk together peanut butter, heavy cream, milk, honey, vanilla, and sea salt until the mixture is completely smooth.
Taste the base and adjust sweetness or salt if needed; remember to stir well before moving on.
Pour the mixture into the Ninja Creami pint container, seal tightly, and place in the freezer for at least 24 hours.
After freezing, install the pint in the Ninja Creami, select the "Ice Cream" function, and let the machine churn until creamy.
If desired, gently fold in chopped roasted peanuts, then serve immediately or refreeze for a firmer texture.
Notes & Tips
-
1
If the ice cream is too hard after the first churn, let it sit at room temperature for 5 minutes before a second spin.
-
2
A drizzle of melted chocolate pairs beautifully; try a quick melt and swirl it in after churning.
-
3
For a protein boost, stir in a scoop of vanilla whey protein powder during the base preparation.
 Desserts
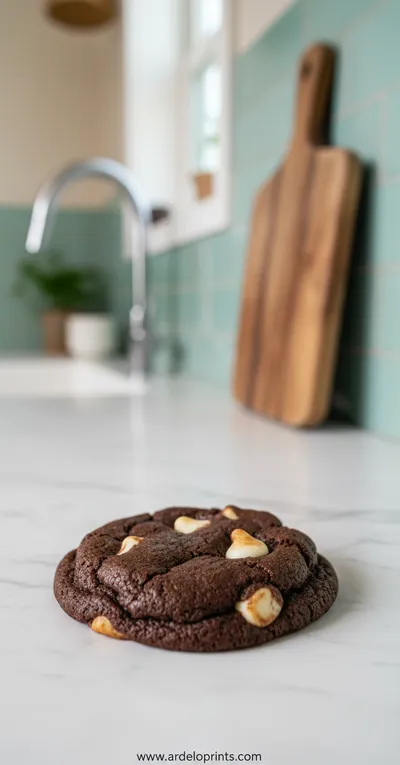
Inside Out Chocolate Chip Cookies
Chewy cookies with crisp edges and a melt‑in‑your‑mouth center.
Tools You'll Need
-
Ninja Creami machine
-
Medium mixing bowl
-
Whisk
-
Measuring cups and spoons
-
Spatula
-
Freezer‑safe pint container
Must-Know Tips
-
Do not overfill the pint; leave space for expansion.
-
Make sure the mixture is fully blended to avoid icy spots.
-
Add mix‑ins after the churn for optimal texture.
Professional Secrets
-
Thermal shock: a brief pause in the freezer after pouring the base helps stabilize the texture.
-
Using a pinch of salt amplifies the nutty flavor without adding saltiness.
-
Chilling the bowl and whisk before mixing keeps the base cold, aiding smoothness.

Recipe by
Mason Cole“Sweet cravings are my specialty! I turn sugar, chocolate, and imagination into pure dessert magic.” 🍰✨
Get Delicious Recipes Weekly
Join 25,000+ home cooks getting our best recipes straight to their inbox.
Free forever • No spam • Unsubscribe anytime